Course Title
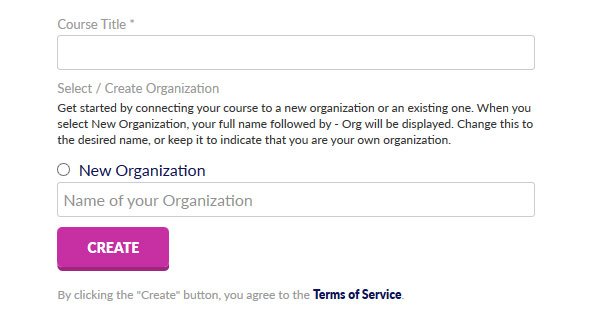
Start by selecting the Create a Course button. Then provide a course title and enter the name of your training organization or your name as an independent Facilitator.
Course Contents
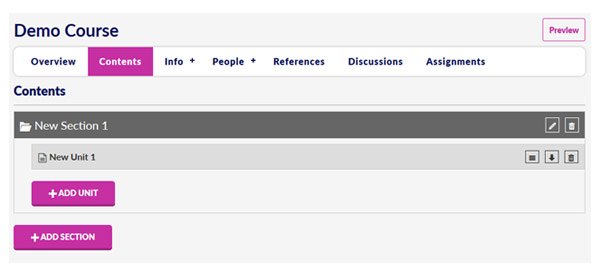
Select the Contents menu and give your course structure by adding as many course sections to it as needed.
Within each section you can have one or more units. A unit can contain any combination of text and files. The types of files can be audio, video, PDF, Excel, and Word documents.
Info: Basic Info
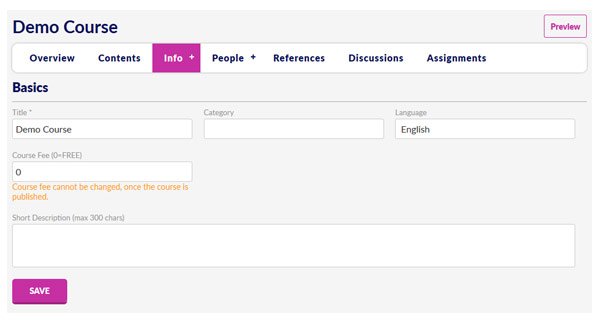
Select the Info menu to start the process of explaining what your course is all about. You can set the expectations of Learners who sign up by starting with the Basics.
In the Basics area, you provide a short course description. You also set the basic fee for enrolling in the course, or offer it for free.
Info: Course Summary
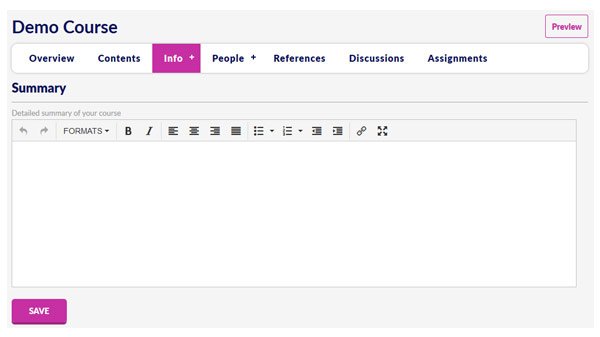
After describing the basics, give a detailed summary of your course. Be sure to include enough information to allow Learners to determine if the course is what they are looking for.
Info: Course Goals
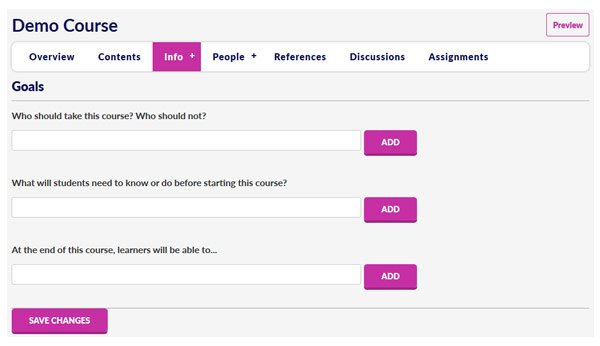
Describe who should take the course and what is required to be ready for it. Also, explain what Learners should be able to do once the course is completed.
Info: Course Images
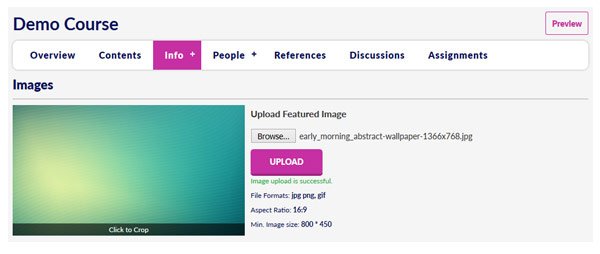
Upload the featured image of the course. It should give a good visual representation of what the course is about.
People: Facilitators
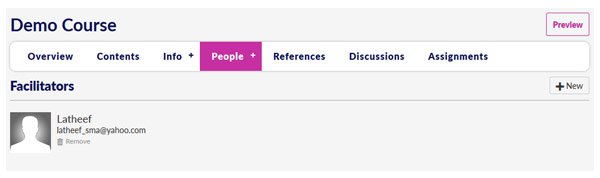
Include one or more co-Facilitators for the course to support team training and teaching. To accomplish this, start by selecting the Facilitators menu item from the People menu.
Then select the +New button to begin adding Facilitators.
People: Learners
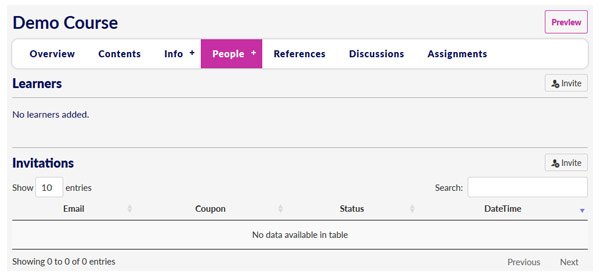
Send invitations to Learners who you want to personally invite to enroll in your course. To begin this process, select the Learners menu item from the People menu.
Then select the Invite button to begin inviting Learners. You can also include discount coupons in your invitations.
Reference Materials

Add as many reference and assignment documents as you need. Enrolled Learners can download and use them for your course.
Select the +Add button to begin adding the documents. Then select the COMPUTER option. Enter the Title of the document and then select the Choose File button to locate your document.
Overview
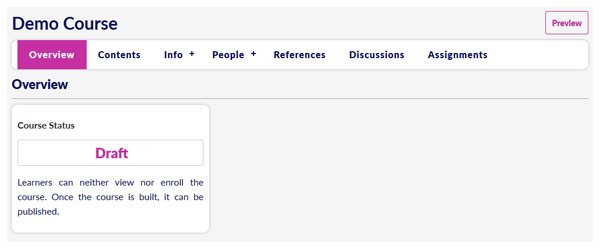
Select the Overview menu to set the status of your course to either Draft, Published, or Closed.
Use the Draft status to continue working on getting your course ready for Learners to enroll.
Use the Published status when you are all set to make your course open for enrollment. At this point you can advertise it.
The course fee cannot be changed and the status cannot be changed back to Draft once Learners are enrolled.
Use the Closed status to prevent additional Learners from enrolling in your course. Learners who have already enrolled will continue to have access to the course.
Ready to create your course! Click here Create a Course


